How I Fell Into the Sourdough Rabbit Hole
And never looked back
l will be honest with you — sourdough was the last thing I thought I'd be doing on a Saturday morning.I love bread a little too much, and because I watch what I eat very closely, I always told myself that baking bread at home was just asking for trouble. The last thing I needed was a fresh loaf sitting on my counter calling my name. So for a long time, I kept my distance and convinced myself it just wasn't a good idea for me.
Then a friend changed everything. She didn't just tell me about sourdough — she actually came over to my house and walked me through the whole process herself. I remember watching her and thinking, why not? But I won't lie, I was a little overwhelmed seeing it all unfold for the first time. There were more steps than I expected, and it felt like a lot to take in. Still, something about it intrigued me enough to try it on my own. And once I did, I was completely hooked. Now I genuinely love the process, and a fresh loaf coming out of my oven every week has become one of my favorite parts of the week.
What surprised me most wasn't how good it tasted though it is extraordinary — it was how good I felt eating it. That's when I started digging into the research, and I discovered that real, long-fermented sourdough is genuinely different from the bread most of us grew up eating.
Making the Bread
The process is more forgiving than it looks. Once you understand the rhythm — mix, rest, fold, ferment, shape, proof, bake — it becomes second nature. I now do most of it while doing other things around the house. My Baking days smell incredible.
Below is my go-to basic recipe, followed by the rosemary garlic variation that has become an absolute household favorite. If you're new to sourdough, start with the classic. If you're ready to show off, go straight to the herb version.
I have a sourdough starter that was given to me by my friend. There are different ways to get them — you can get one from a baker or bakery, or buy a dehydrated starter that are now available everywhere. The right sourdough starter is the key.
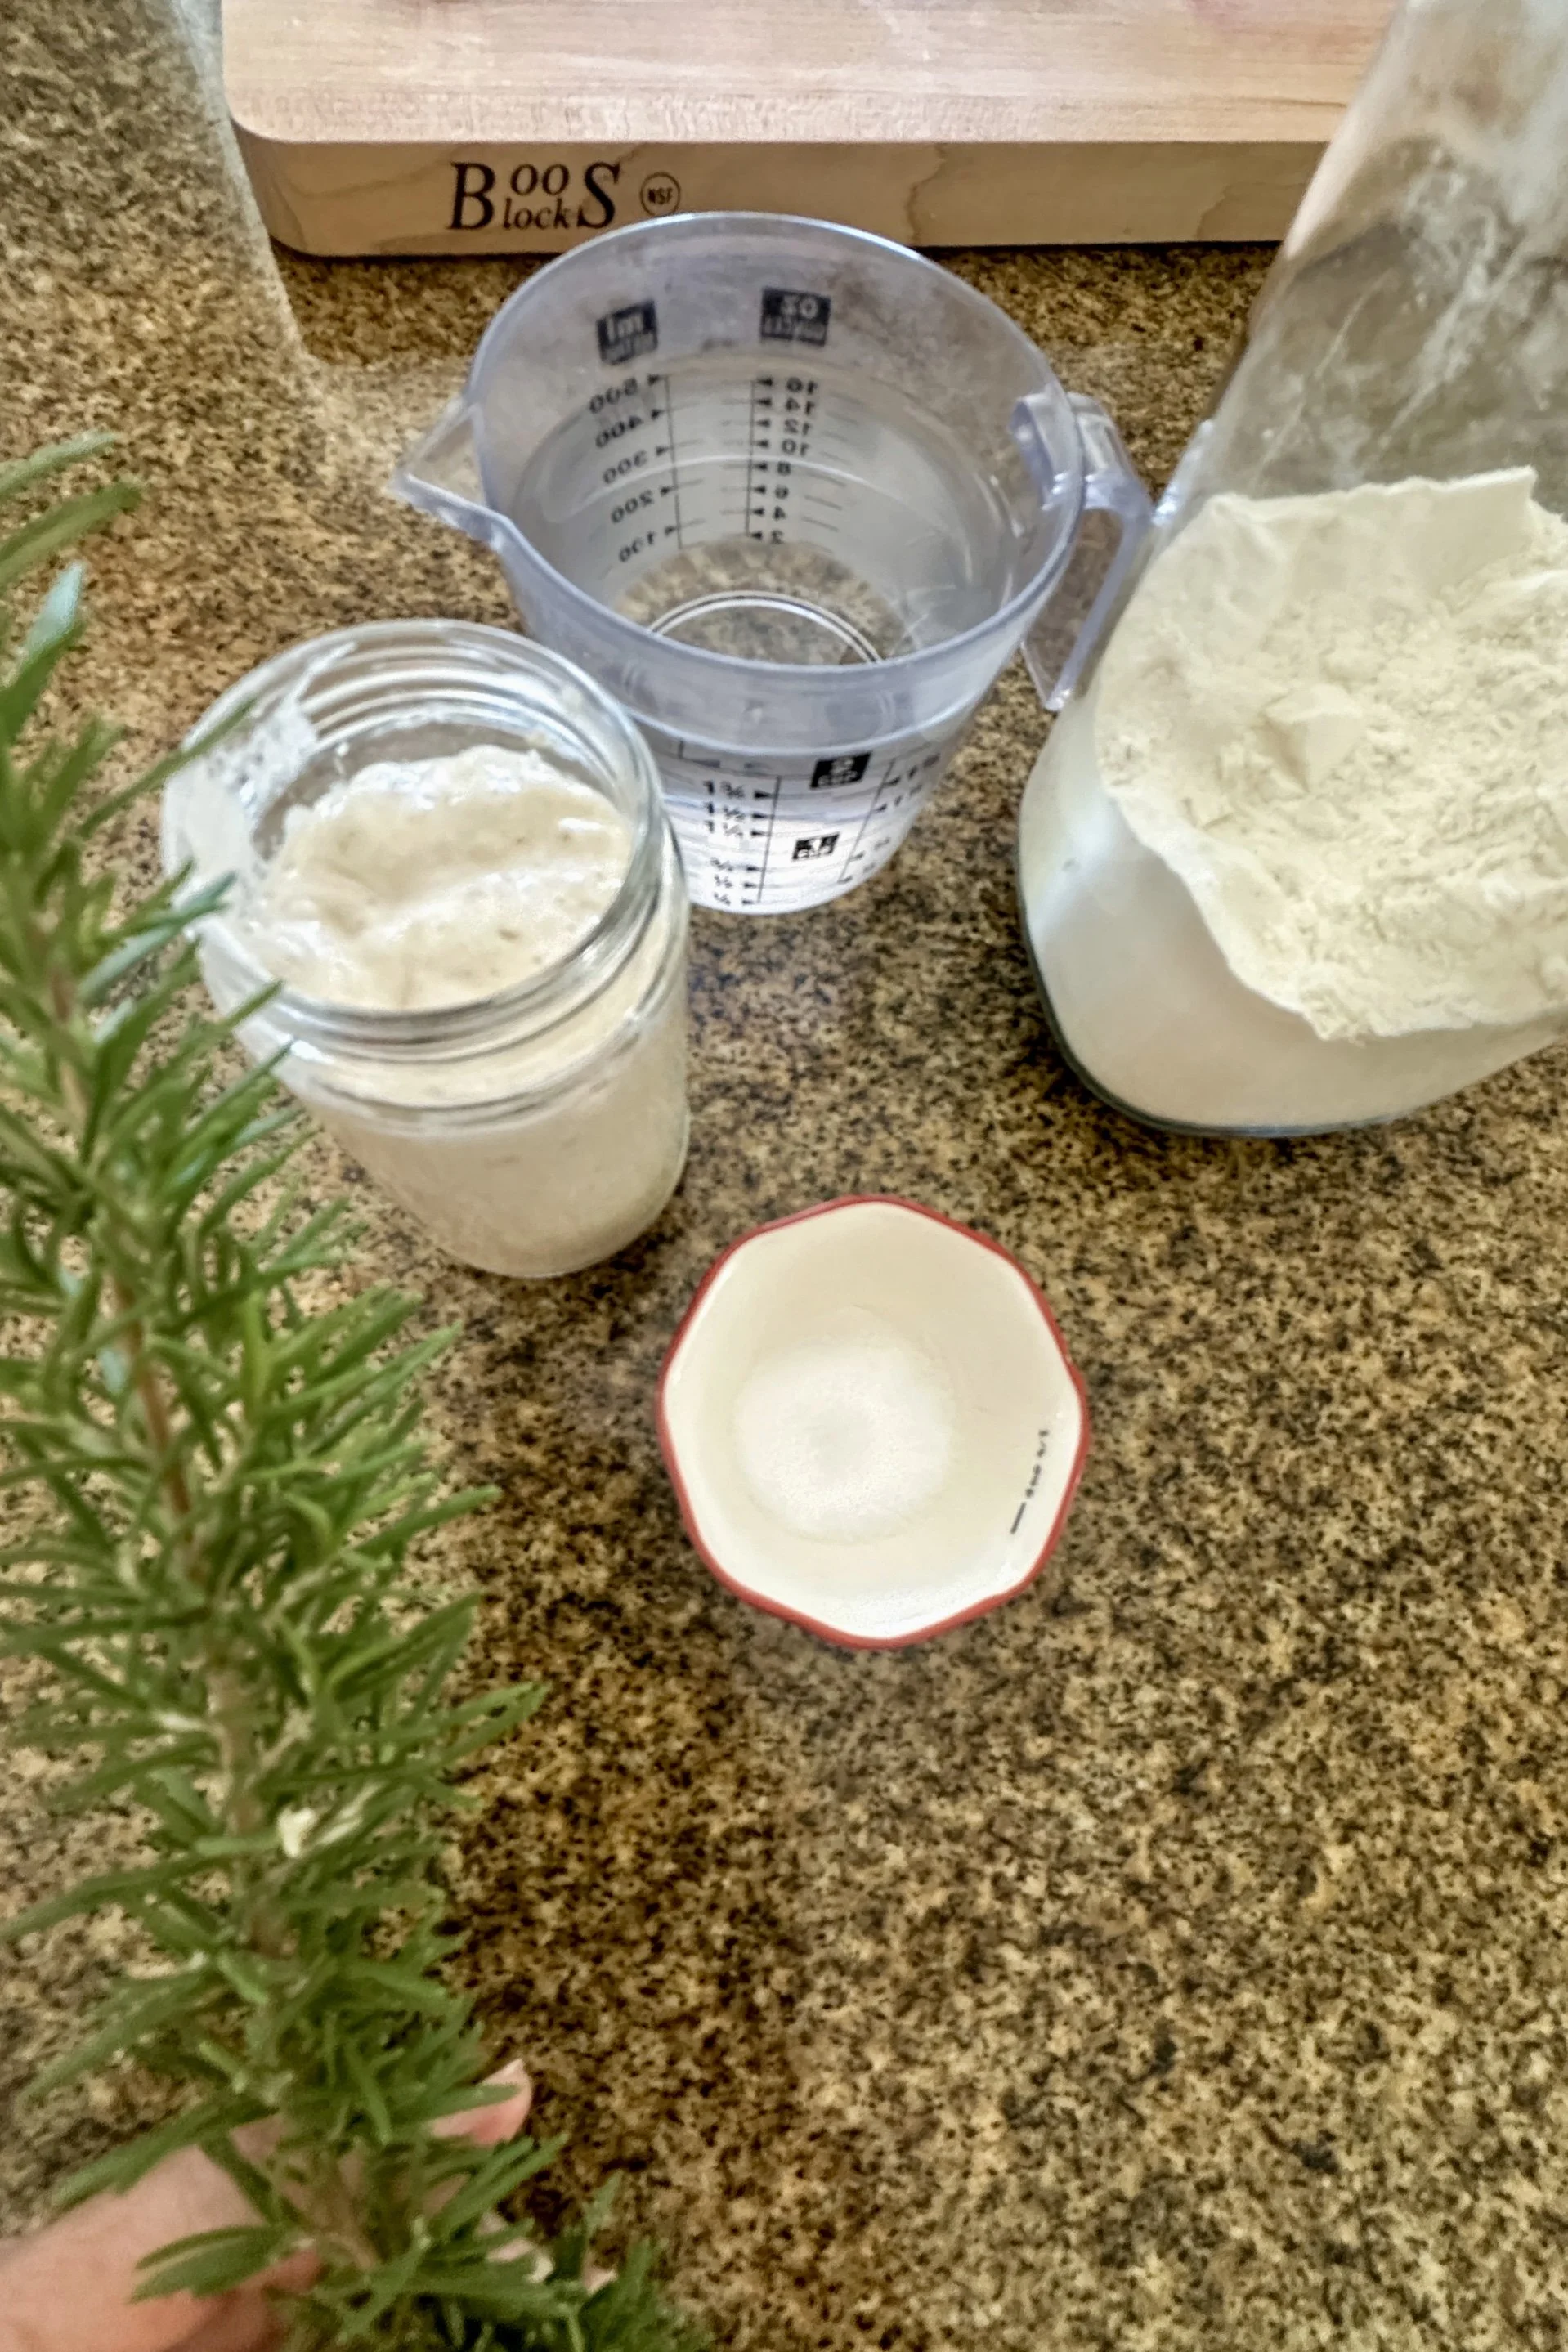
Everything you need — fresh from the garden and straight from the pantry.
Classic Sourdough Loaf
For the Dough
100g active sourdough starter
325g water
10g salt
You'll Also Need
Directions
1. Mix the Dough - In a large mixing bowl, whisk together the starter and water until foamy. Add flour and salt. Mix until the dough comes together. Knead or do slap and folds for 5 minutes.
Important: Bulk fermentation begins NOW — right after mixing.
2. Rest - Return dough to bowl. Cover and let rest on the counter at room temperature for 1 hour.
3. Stretch & Folds - Do 1 set of stretch & folds every 30 minutes for a total of 4 sets. You can mix in coil folds too — it's totally up to you. Keep dough covered between sets.
4. Finish Bulk Fermentation - Cover the dough and let it finish fermenting at room temperature until it has grown noticeably and looks bubbly and domed.
Timing varies with temperature and starter strength — trust your dough, not the clock.
5. Pre-Shape + Final Shape
Turn dough onto a lightly floured surface. Gently pre-shape, cover, and let rest 20 minutes. Final shape into a loaf and place into a lightly dusted floured proofing basket. Cover tightly.
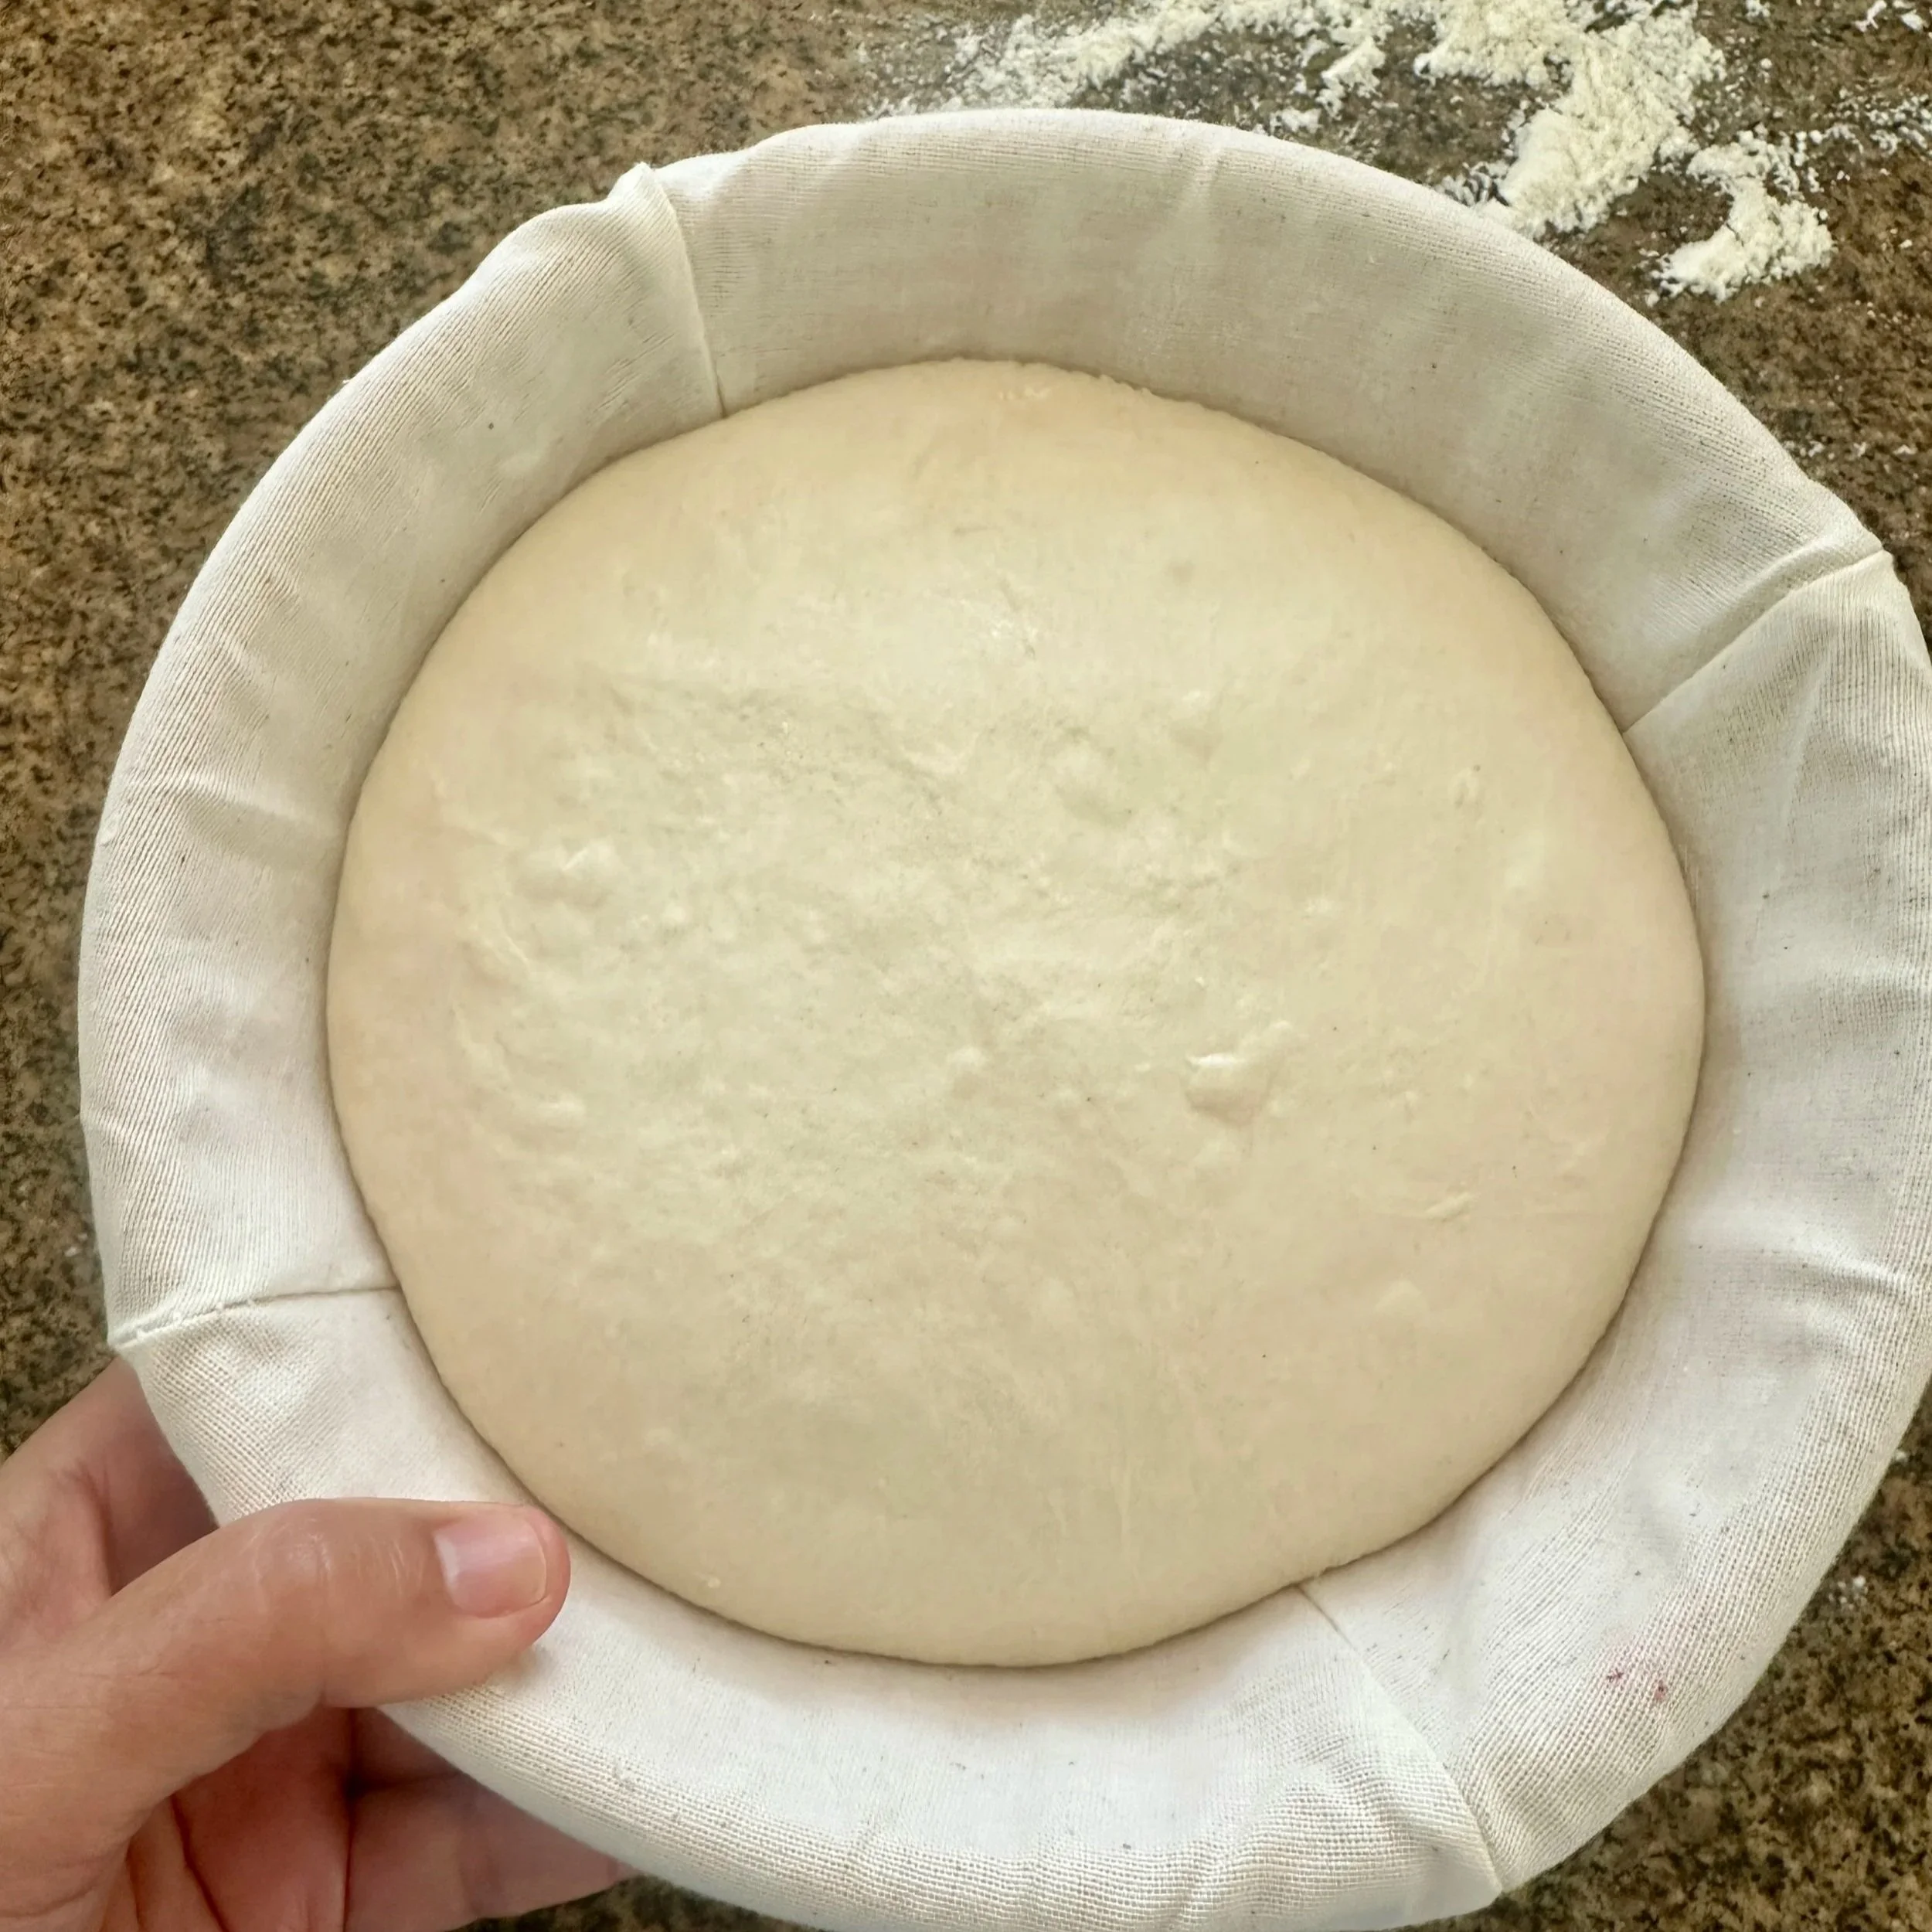
Shaped, in the proofing basket and ready for an overnight rest in the fridge.
6. Cold Proof
Refrigerate for 12–48 hours. I usually aim for 12–24 hours. Bake straight from the fridge — no need to warm it up first.
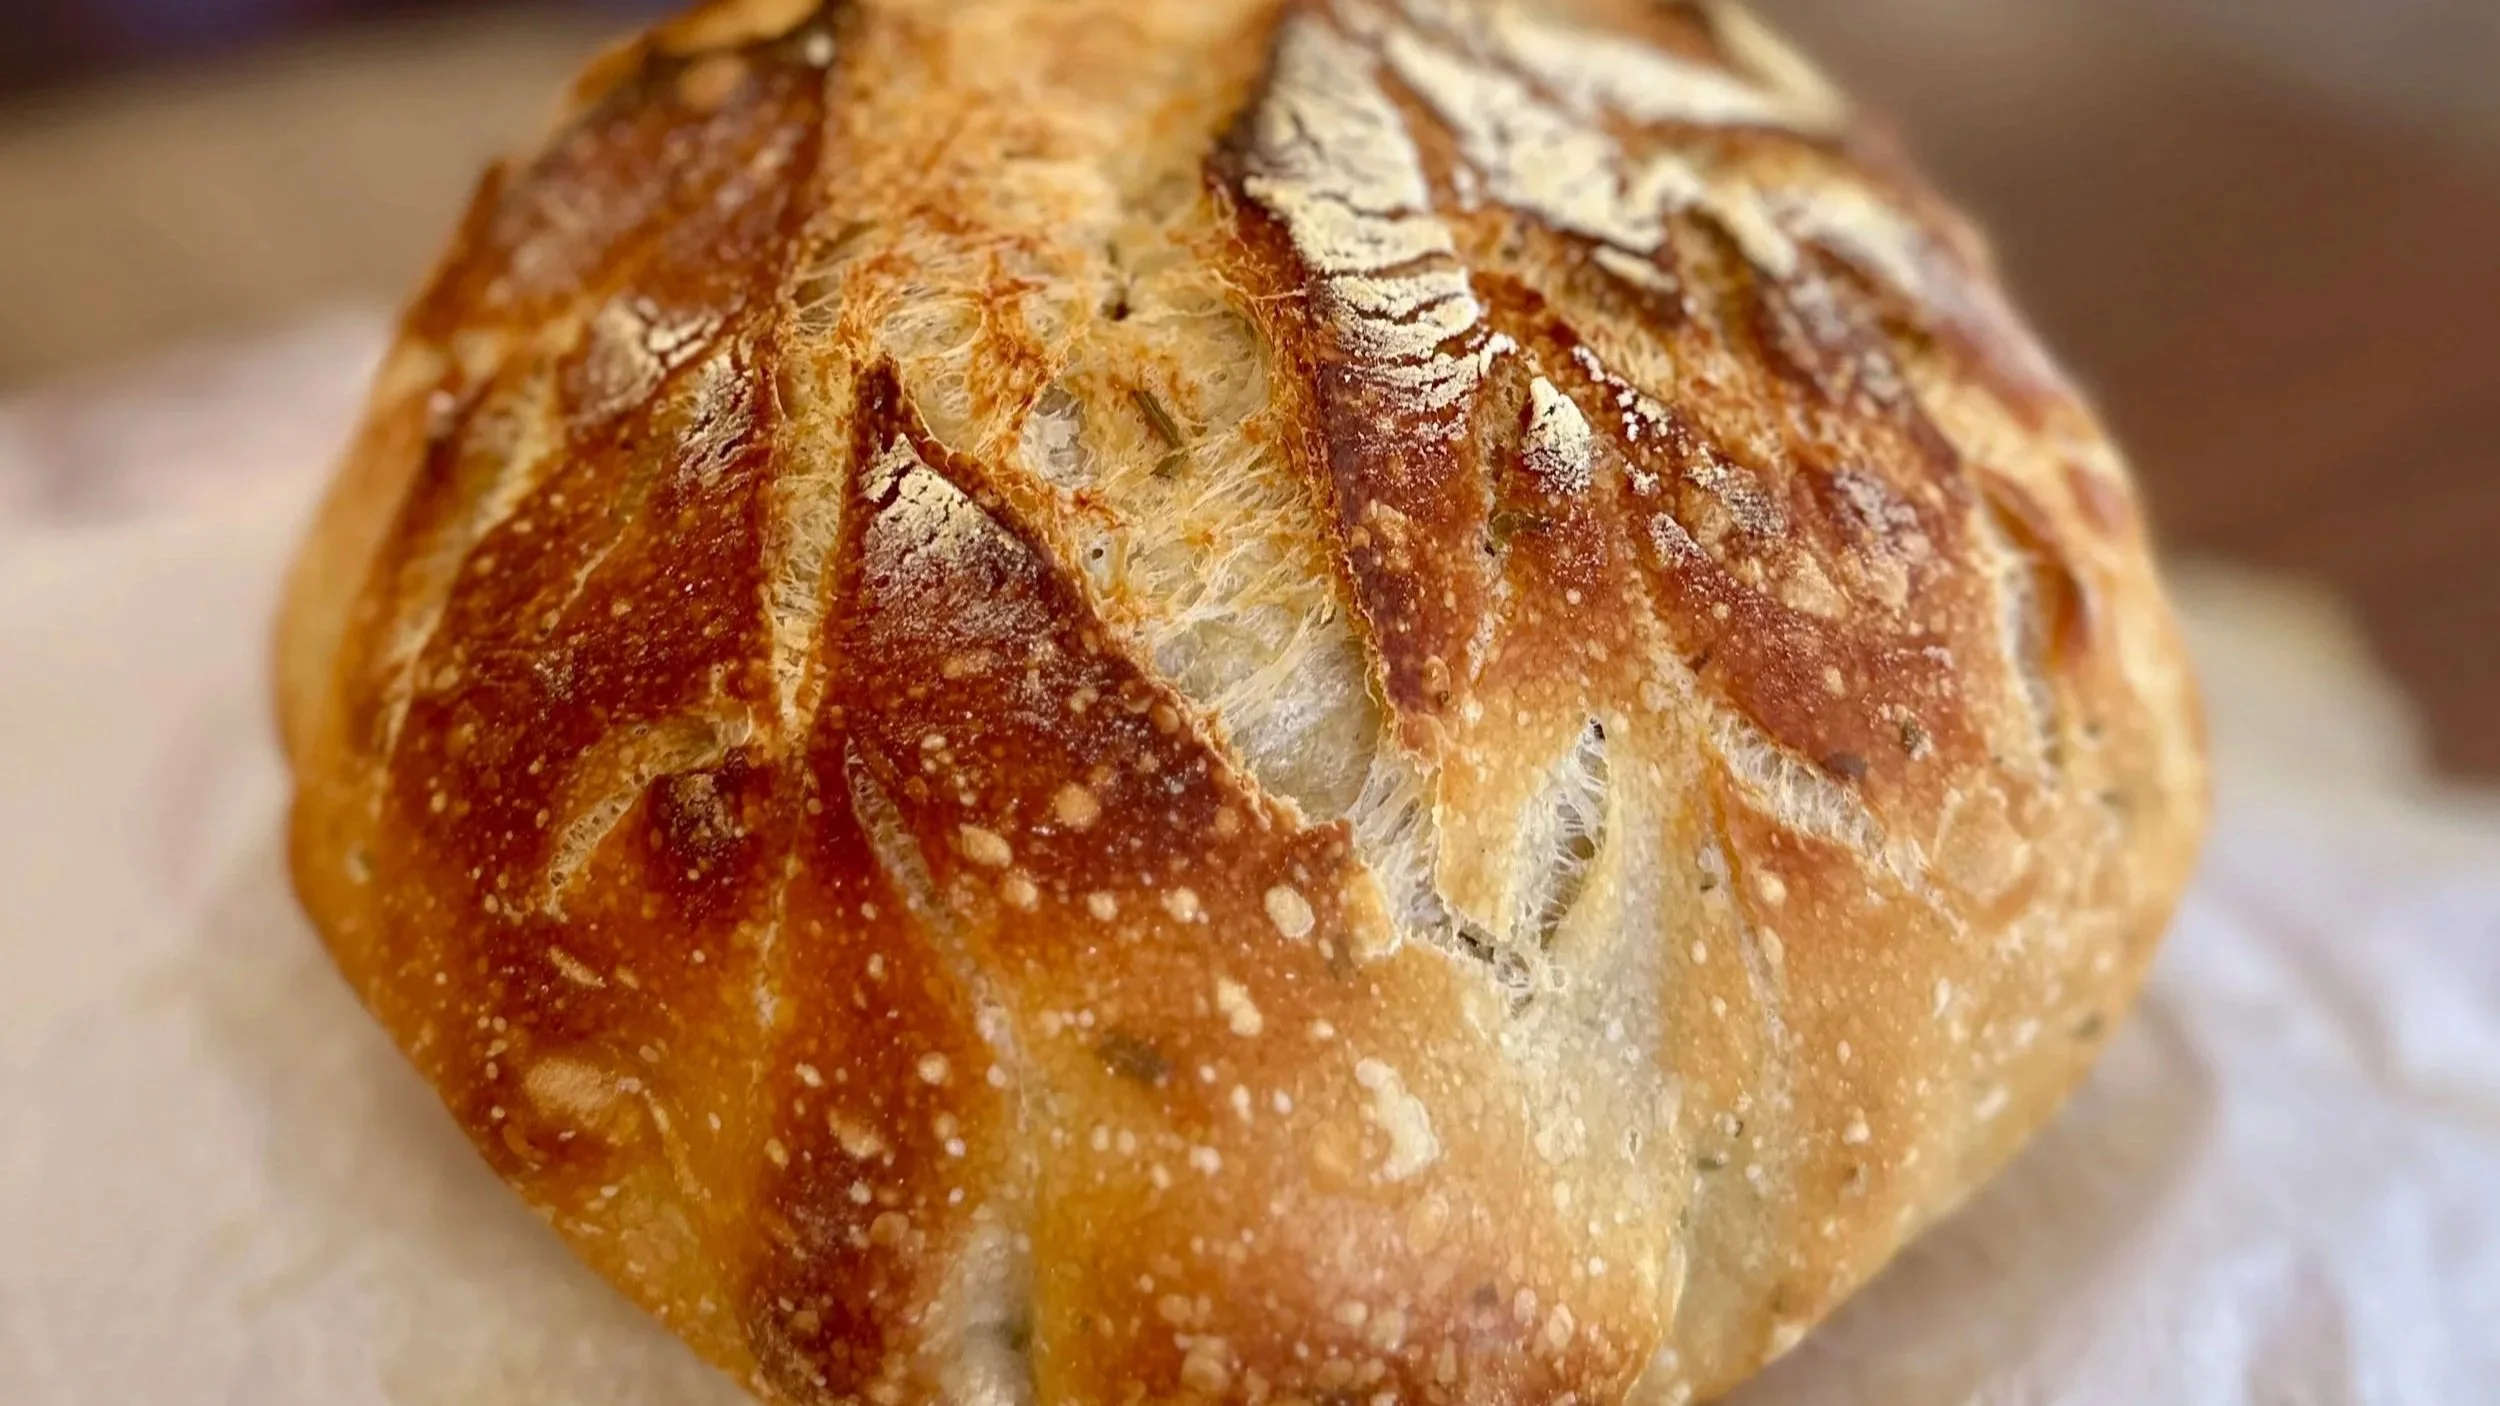
7. Score & Bake
Preheat oven to 450°F with the Dutch oven inside. Lightly spray the dough with water, score it, then carefully lower it (in the parchment) into the hot Dutch oven. Put the lid on.
8. Bake Covered → Then Uncovered
Bake with the lid on for 30 minutes. Remove the lid and bake another 15 minutes until deeply golden. Let cool completely before slicing — I know, it's hard to wait!
Flavor Variation
Rosemary Garlic Sourdough
Everything above, plus two simple additions
The rosemary garlic variation — it never lasts long in this house.
Additional Ingredients
2 tablespoons fresh rosemary, chopped (store-bought works great too)
3–4 garlic cloves, roughly chopped
How to Add Them In
After Your First Stretch & Fold
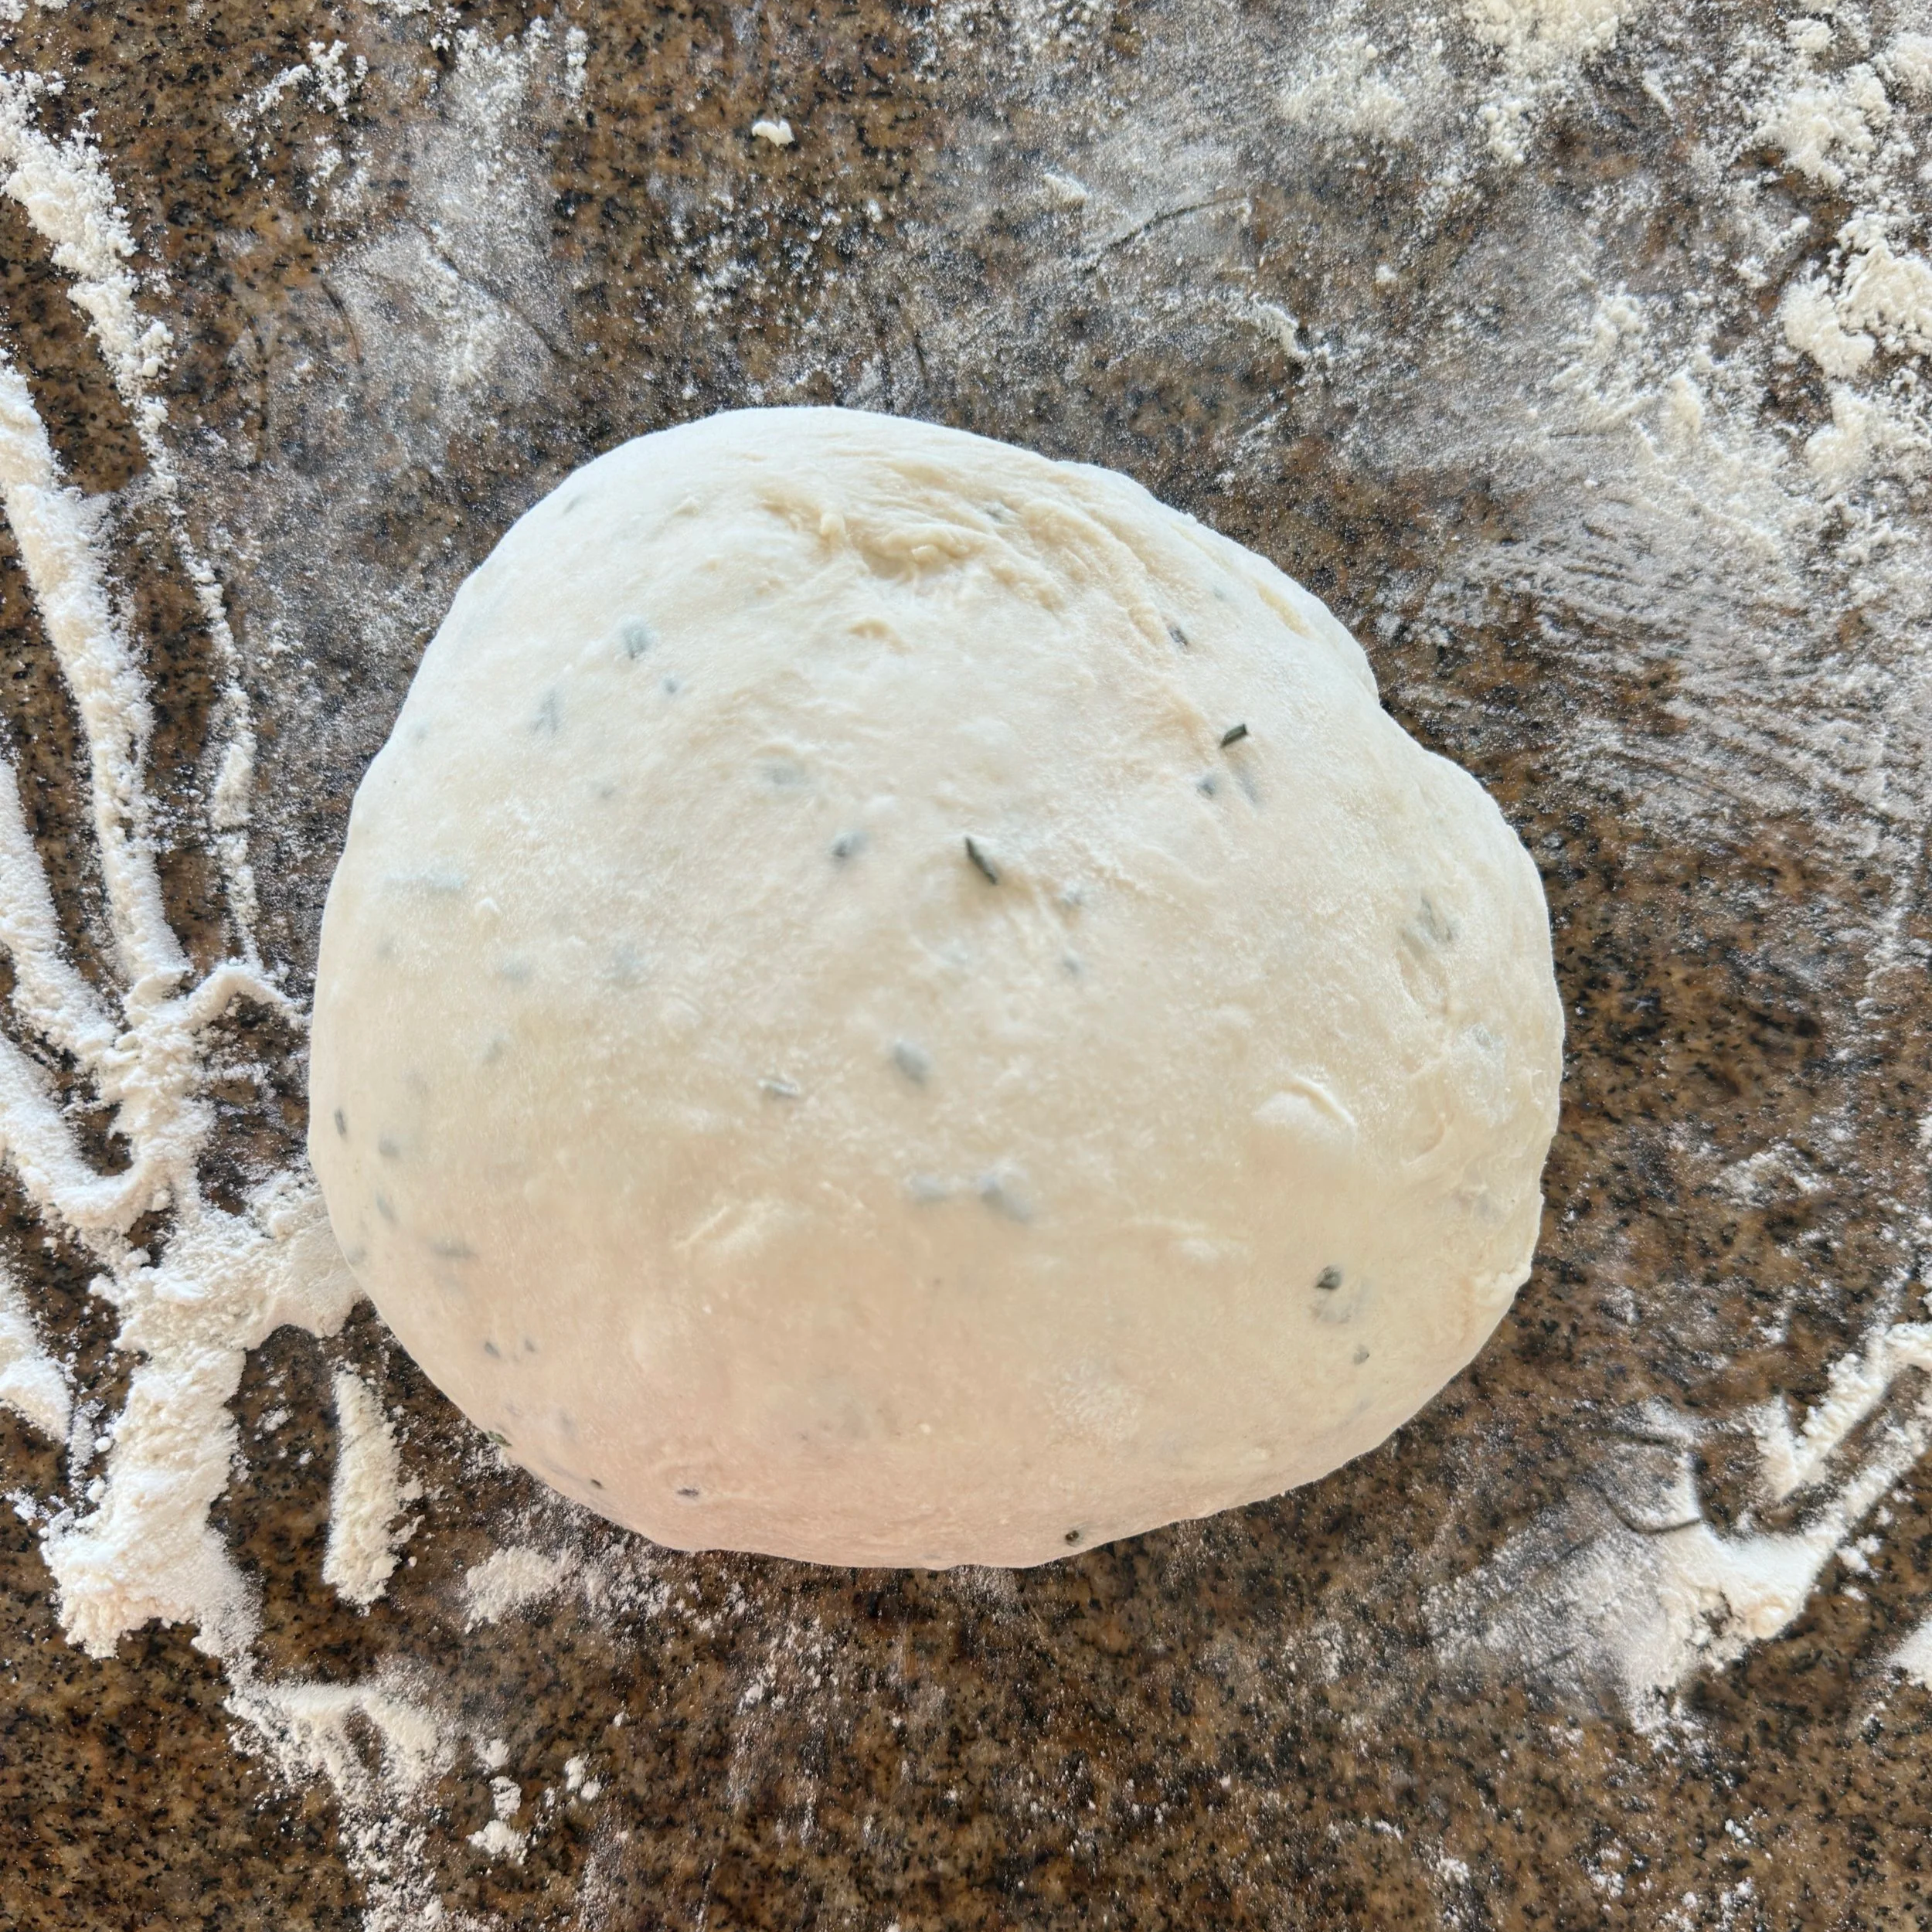
Scatter the chopped rosemary and garlic directly onto the dough and fold them in until evenly distributed throughout. Then continue with the remaining stretch & fold sets as normal.
This is actually the perfect moment to add almost anything — olives, sun-dried tomatoes, cheese, caramelized onion. The method is the same, so make it your own.
I often use rosemary straight from my garden, and the smell it produces while baking is honestly one of my favorite things about making this loaf. Fresh is best, but don't let that stop you — dried rosemary from the pantry works in a pinch. Follow all remaining steps exactly as the classic recipe above.
Whether you go classic or herb-loaded, I promise this process will surprise you. The first time you pull a golden, crackling loaf out of the oven that you made with your own hands, something shifts. You'll understand why so many of us got completely hooked.
If you try this recipe, I'd love to hear how it goes. Tag me on social media — seeing your loaves genuinely makes my day.
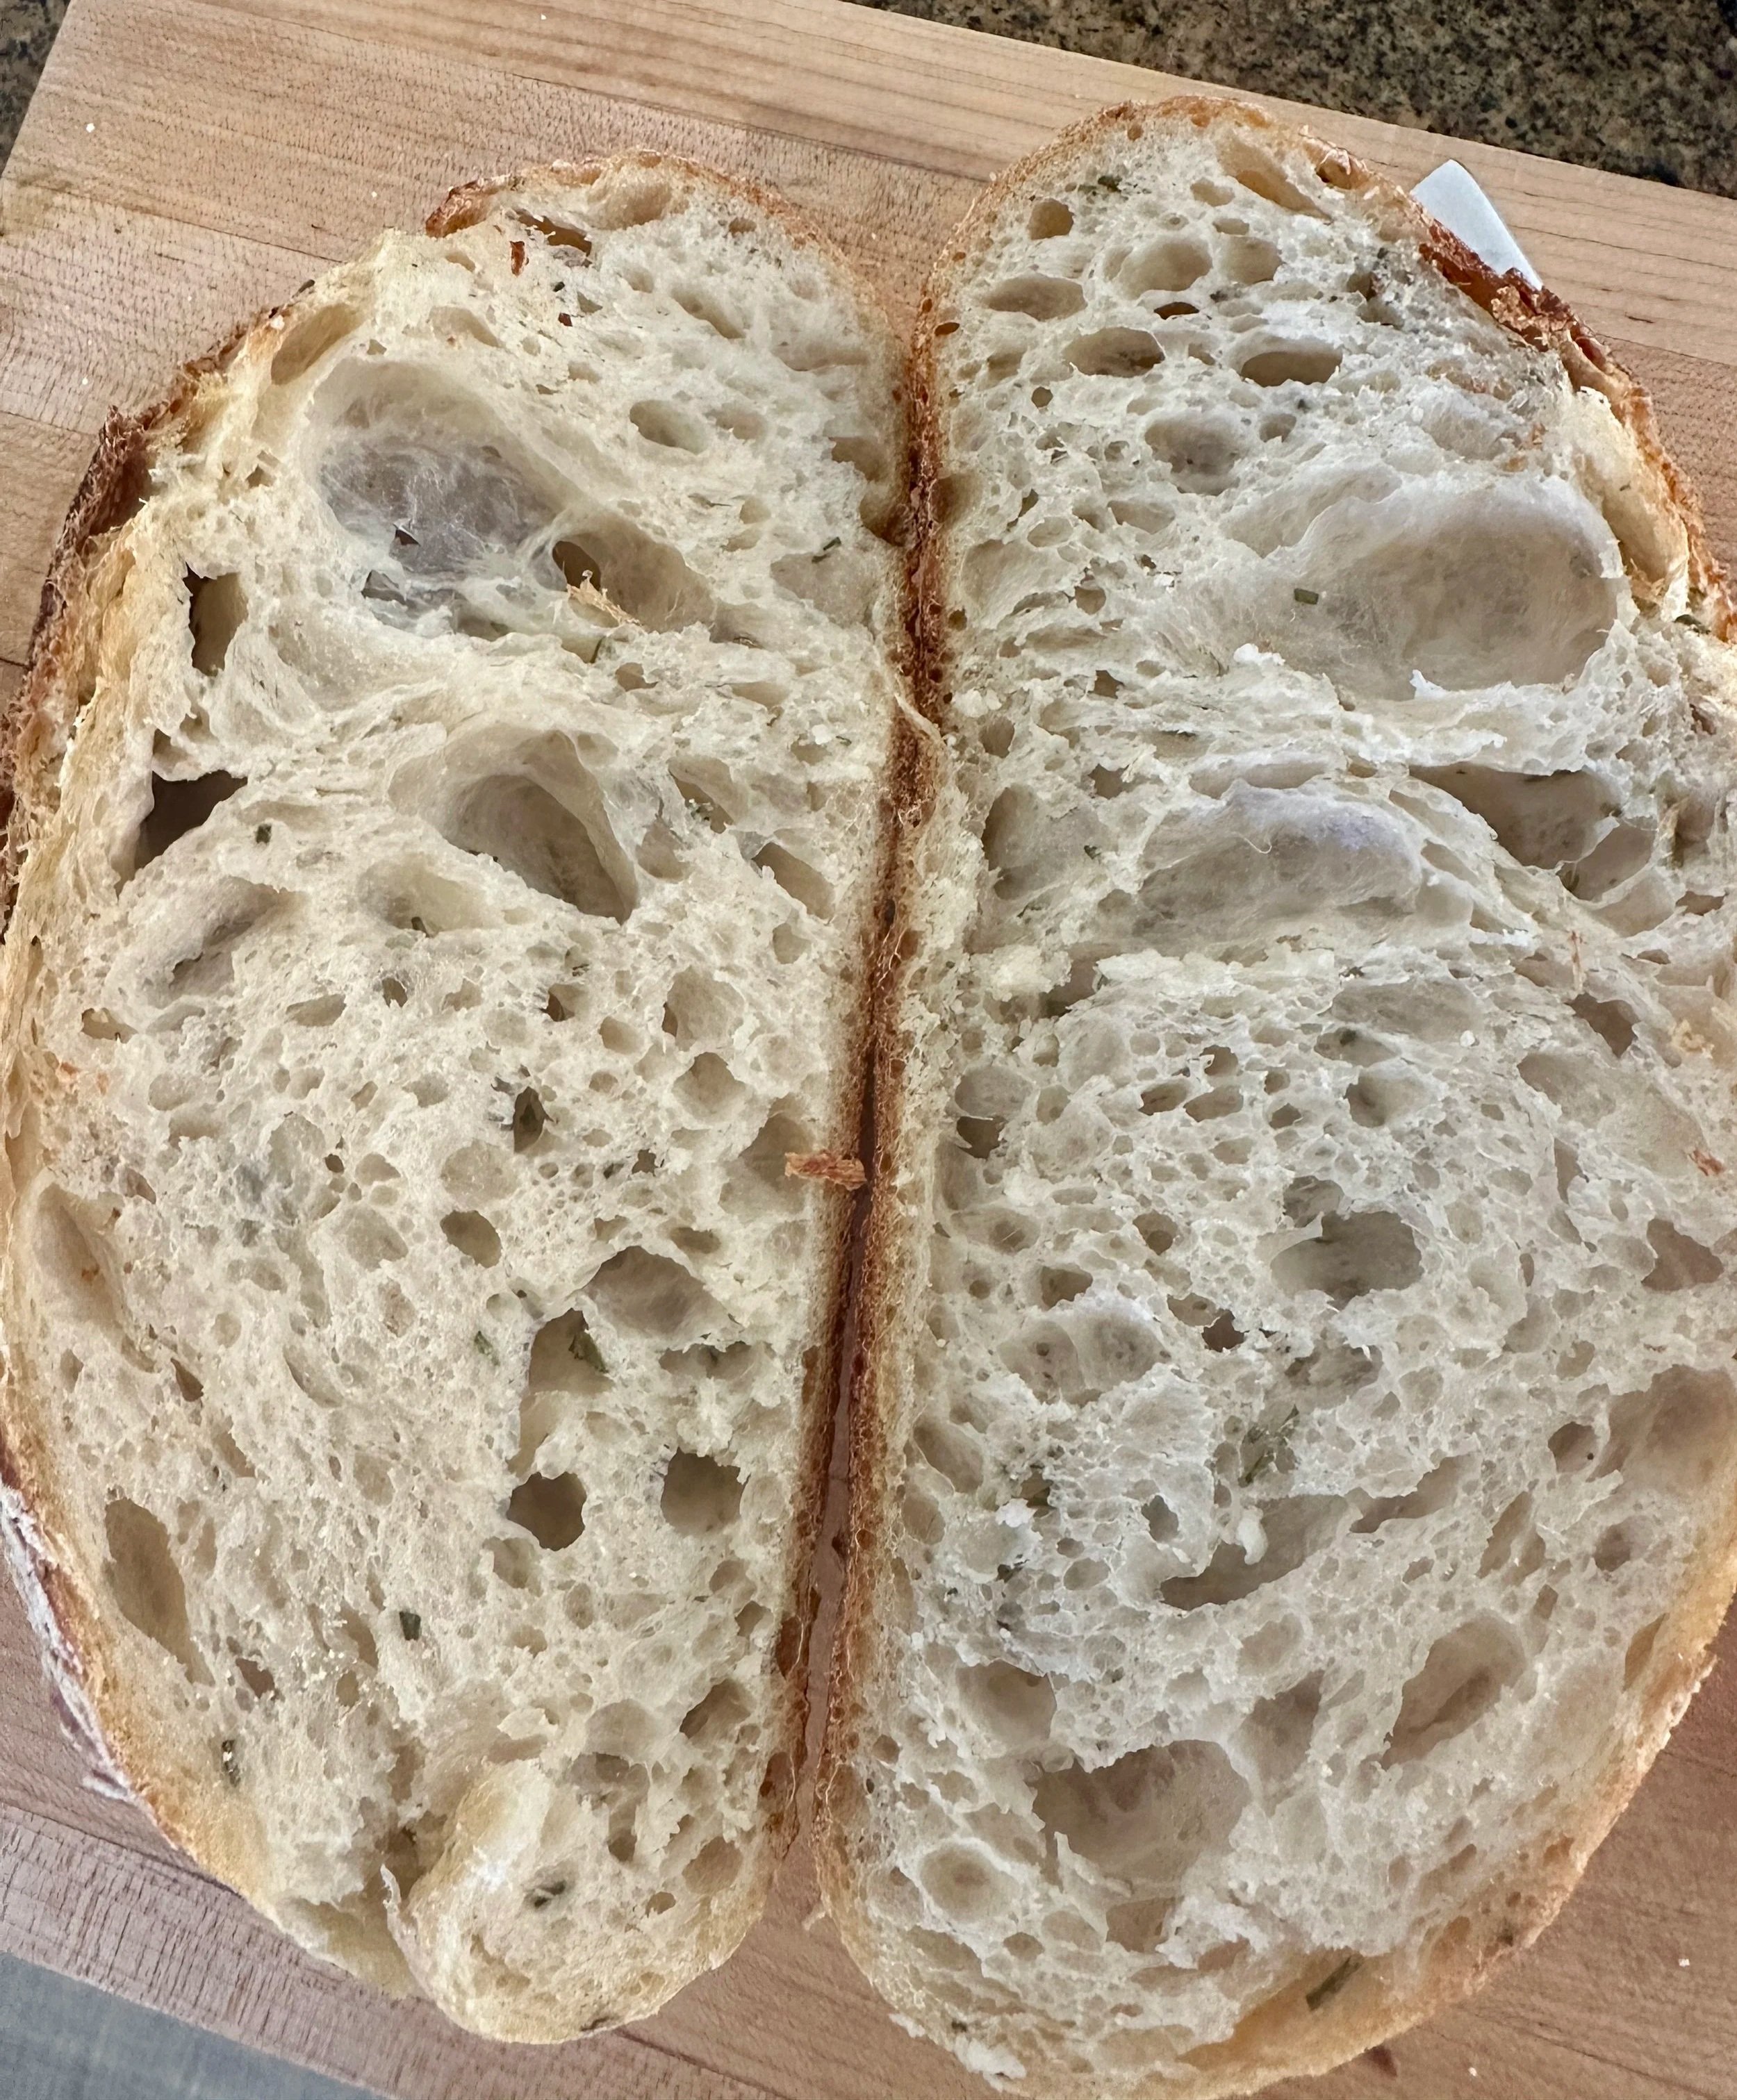
That crumb. Worth every fold.
Watch & Learn
Some of these steps are easier to see than to read about — things like stretch & fold, coil folds, shaping, and scoring. I've described each one below in simple terms, but if you'd like to see them in action, a quick YouTube search for any of these terms will bring up plenty of great demonstrations.
Stretch & Fold — This is how you build strength in your dough without kneading. During bulk fermentation you simply grab one side of the dough, stretch it up as far as it will go without tearing, and fold it over to the center. You rotate the bowl and repeat on all four sides. That's one set.
Coil Fold — A gentler alternative to stretch & fold that works beautifully once your dough has developed some strength. You slide both hands under the center of the dough, lift it up, and let the two ends fold underneath as you set it back down. It feels very satisfying once you get the hang of it!
Bulk Fermentation — This is the first long rise after mixing. You're looking for the dough to grow noticeably, feel airy, look bubbly on the sides, and have a slight jiggle when you shake the bowl. Temperature and your starter strength will affect timing, so trust what you see more than the clock.
Shaping — This step creates surface tension in the dough which helps it hold its structure in the oven. A quick YouTube search for "sourdough boule shaping" will show you exactly what to look for.
Scoring — This is the cut you make on the dough right before it goes into the oven. It controls where the bread expands and gives your loaf that beautiful bakery look. A sharp blade and one confident stroke is all you need.